How to use your GPU to accelerate XGBoost models
Do your XGBoost machine learning models take an age to run? You could make them several times faster by using XGBoost GPU functionality.

If you’re not fortunate enough to have a really powerful data science workstation for your work, one of the problems you’ll likely face is that your models can take quite a while to train, leaving your machine busy for long periods with the fans going full blast.
Quite often I will end up leaving my machine running overnight or over the weekend and it’s still not finished training the model. However, with the right kind of machine and a half decent graphics card, you can greatly speed things up - at least if your chosen model is XGBoost.
The XGBoost package, which uses the popular Extreme Gradient Boosting algorithm, is not only extremely powerful and very fast, it also has the advantage of being able to run on your GPU, which means that model training times can be significantly reduced.
Why use a GPU for machine learning?
The GPU (Graphics Processing Unit) in your graphics card is much more efficient for performing highly parallel calculations, compared to the CPU in your computer. Some studies on deep learning neural nets reckon GPU performance can be as much as 250 times quicker than CPU. It’s for this reason that cryptocurrency miners favour GPUs (and ASICs) over CPUs.
In XGBoost, it’s in the tree construction (or training) and prediction steps that the GPU is used to accelerate the process, so you won’t see much performance gain if the bottleneck is inefficient Pandas loops in your feature engineering steps. However, your models should run several times quicker on the GPU - maybe more if you have a really powerful graphics card or several of them at your disposal.

Setting up CUDA support
XGBoost uses NVIDIA’s CUDA (Compute Unified Device Architecture) parallel computing platform, which lets software developers modify their code so it can run on a GPU instead of a slower CPU.
Therefore, to use your GPU with XGBoost you need to have a CUDA-capable graphics card. You also need to install the CUDA toolkit software packages on your machine. The current version of XGBoost needs a graphics card with compute capability 3.5 or better and works with CUDA toolkits version 9.0 and above.
Basically, it needs to be a decent, modern card and it has to be an NVIDIA one. Unfortunately, CUDA won’t run on AMD cards, like the Radeon series. The faster the card, the more dramatic the performance gain.
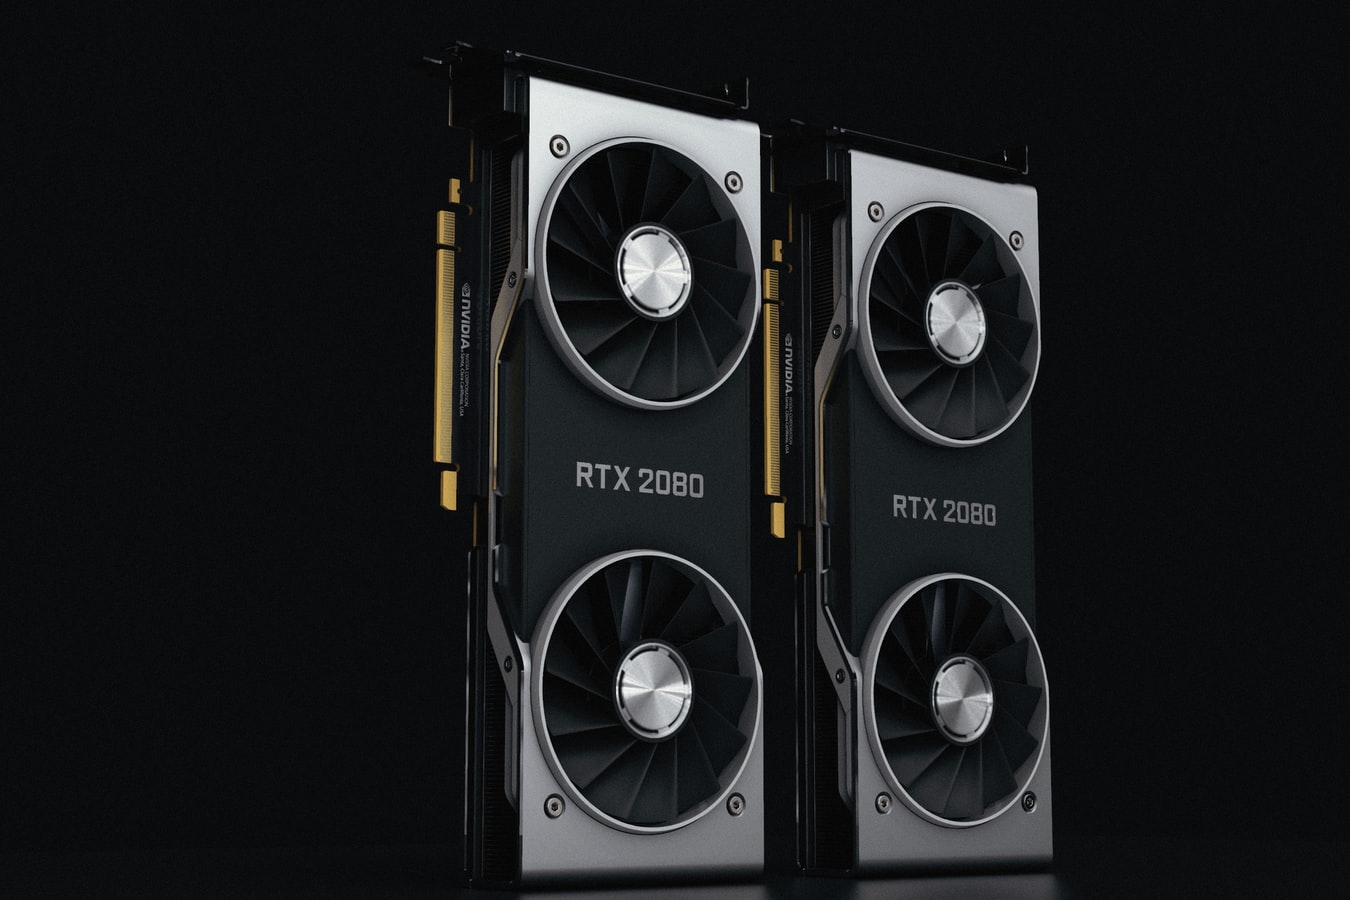
You can run the CUDA toolkit on Windows, Mac or Linux. I use it on an Ubuntu Linux data science workstation with an 8GB NVIDIA GeForce RTX 2080 SUPER graphics card and an Intel Core i7 10700K.
You can use several cards if you’re rich enough to afford them. However, as it tends to be Linux machines that are the favourite of those working in deep learning, NVIDIA’s support for multiple GPUs is currently limited to this platform only.

Configuring XGBoost to use your GPU
Once you have the CUDA toolkit installed (Ubuntu user’s can follow this guide), you then need to install XGBoost with CUDA support (I think this worked out of the box on my machine). Then, load up your Python environment.
Create a quick and dirty classification model using XGBoost and its default parameters. Import Pandas, XGBClassifier and the train_test_split and classification_report modules from scikit-learn and load up the wine database from scikit-learn’s built-in datasets.
import pandas as pd
from xgboost import XGBClassifier
from sklearn.datasets import load_wine
from sklearn.model_selection import train_test_split
from sklearn.metrics import classification_report
Next, load the wine dataset into X and y and split the data using train_test_split(). Then fire up XGBClassifier(), fit the model on your training data, run the predictions through the model and print out a classification report.
X, y = load_wine(return_X_y=True, as_frame=True)
X_train, X_test, y_train, y_test = train_test_split(X,
                                                    y,
                                                    test_size=0.30,
                                                    random_state=0)
classifier = XGBClassifier()
model = classifier.fit(X_train, y_train)
predictions = model.predict(X_test)
classification = classification_report(y_test, predictions)
print(classification)
In the above example, we’ve used XGBClassifier’s default settings and didn’t pass in any optional parameters. When you do this, XGBoost will fall back to the default “fast histogram” tree method. All you need to do to make it run on your GPU is pass in the gpu_hist value and define this tree_method.
X, y = load_wine(return_X_y=True, as_frame=True)
X_train, X_test, y_train, y_test = train_test_split(X,
                                                    y,
                                                    test_size=0.30,
                                                    random_state=0)
classifier = XGBClassifier(tree_method='gpu_hist')
model = classifier.fit(X_train, y_train)
predictions = model.predict(X_test)
classification = classification_report(y_test, predictions)
print(classification)
You will obviously want to do some hyperparameter tuning afterwards to eek further improvements from your model, which is fairly straightforward using GridSearchCV. This will still likely take an age to run on a GPU, but it will certainly be quicker than on a CPU.
Matt Clarke, Monday, March 01, 2021


